Blast gate
In every dust collection system you need to be able to control the airflow in order to get the most efficient use out of your dust collection unit. This mean that you want to direct to suction to the machine you are using at the moment. In my opinion there are some requirement that has to be fulfilled in order to be a good design. This is my take on this topic!
In this case the design process started by sorting out the requirements that I wanted the completed blast gate to fulfill. First the most obvious, it has to be air tight when closed and not obstruct the air flow when in use. Moreover, it has to have a design that prevents clogging and also is easy to clean if it cloggs anyway. For me the form factor and the placement of the blast gate is also important; it has to be easy to operate and should be able to fit in narrow places.
Download the free plans here!
How I made it:

When all requirements were clear to me, the design process begun. Often that means me going back and forth between my office and the workshop. In this case I didn’t do much research because I thought I already had seen them all. Big mistake apparantely! During the build of these blast gates I posted a picture on a forum and allmost immediately I was informed that this design was posted on the “Geeks Wood Shop”-channel over six months earlier. It is interesting to see that two persons can think so alike that my version seems like a copy of his! However, I had already built them and documented the process so I thought that I would publish it anyway. There are some small differences on how we do things and maybe it can help someone with inspiration. (Here’s a link to the other version.)
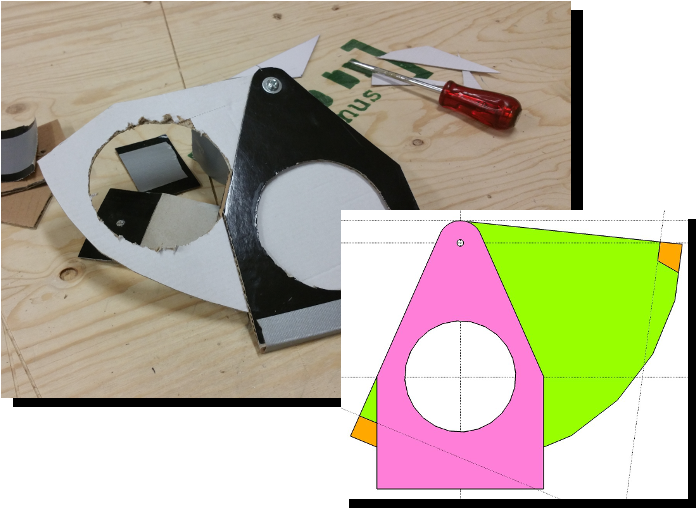
I came up with the design using both Sketchup and also a mockup in cardboard to find the right size and shape of the different parts. When I was sure that is was going to work I printed the templates from Sketchup by exporting 2D-printouts which I then printed to the correct scale using Matthias Wandels program “Big print”. This is a program I really recommend and has been very useful in all sorts of situations.
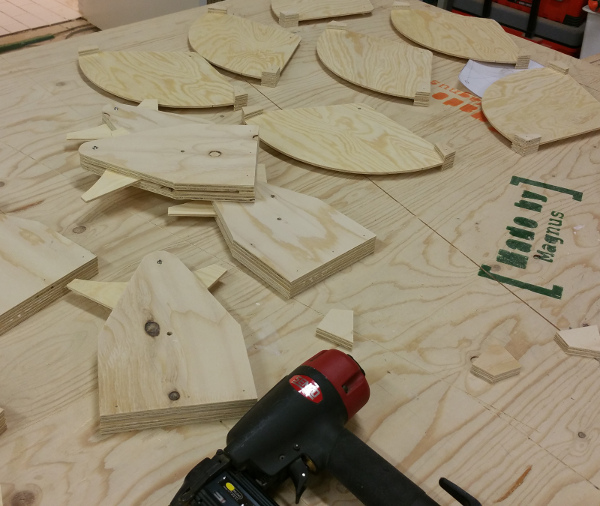
The design consist of two pieces of 12 mm (~1/2″) plywood which buiilds up the housing of the blast
gate. These two pieces are then joined at “the bottom” with a spacer piece of the same thickness as the “valve”-part.
For this I used wood glue and brad pins and set to side to dry. The moving “valve”-piece consists of 4 mm (~5/32″) plywood and was hinged on the top with a M6 bolt (~1/4″ machine screw), some washers and a
locking nut. The reason for the locking nut is that it made the hinge adjustable so it could be tightened but still allow to operate the blast gate.


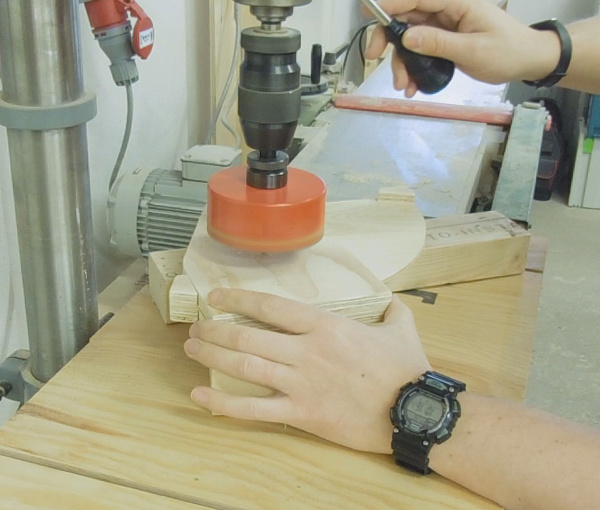
The large hole was made with a 103 mm hole saw to fit my 100 mm (~4″) ducting. This was done after the assembly of the blast gates in order to get perfect alignment of the holes in both the housing and the “valve”. I also made some small blocks to acts as stop blocks to restrict the movement of the valve and also serve as a handle. Another similarity that I saw on the version from Geeks Wood Shop was the green color for indicating an open blast gate.
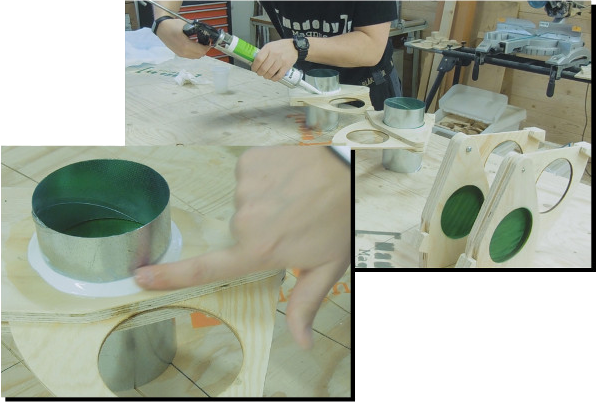
To attach the blast gates to my dust collection pipework I simply inserted the pipe into the hole in the housing of the blast gate and backed it out just a hair. Then I secured it with construction adhesive on the outside and let it dry completely.

