Wall clock
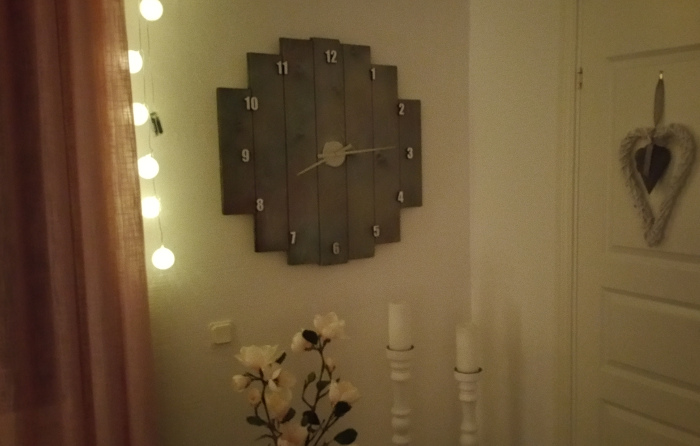
A wall clock can is both practical and can act as a nice decorative piece that complements the interior design of a room. The actual clock that I used for this is very commonly available and comes in many different styles. This version, like most of this kind, are meant to be attached directly to the wall. However, I chose to make a backboard that would match the rest of the room it was planned for.
I knew that the clock should be somewere around 70-80 cm (28"-32") wide to fit the wall it was planned for. Another design factor was its appearance that had to match the rest of the room. There are light colors already, primarily all items are in white, gray and pink. Moreover, there was a wish for something a bit more "rough" or "rustic". This is my interpretation of the task!
How I made it:
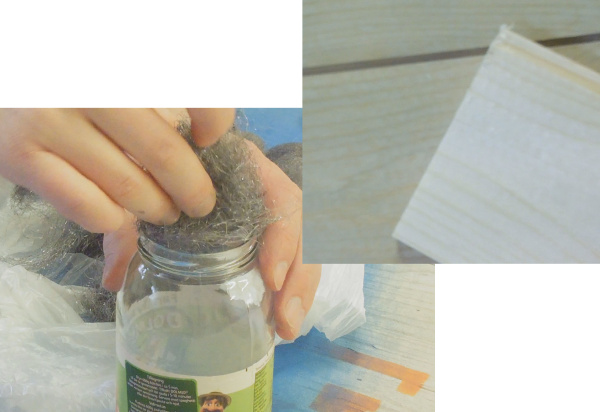
The start of this project was actually to prepare some of the finish I was going to use later on. I took some steel wool and placed it in a jar with some white wine vinegar. This has to be prepared a couple of days before in order to be ready when it's time to apply it. This mixture create an aging effect on the wood with chemical reactions and turn the wood look a bit darker and older. Even though I was going to use paint at the end, I wanted a darker tone to shine through because the paint wouldn't be completely covering the boards.
It was pretty easy to figure out the measurements for the backboard by first drawing the pointers and the numbers. The measurments of the pieces was provided on the box of the clock that I had purchased.
I was planning to use 120 mm (~5") wide material for the backboard and this meant that I needed 7 pieces to fit the width.
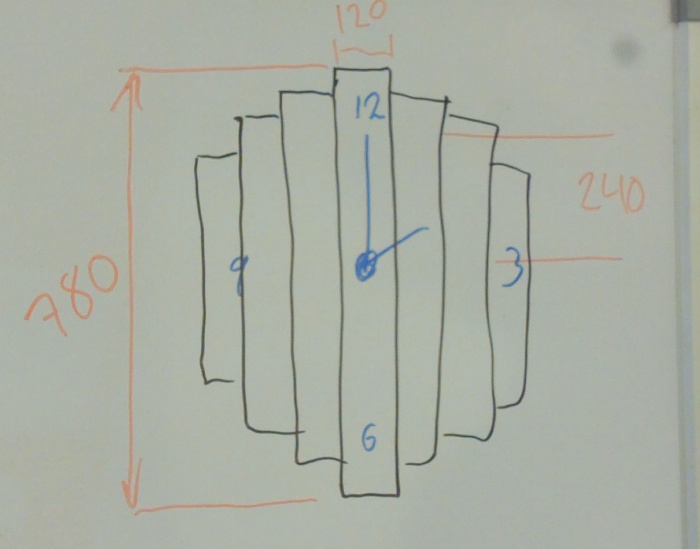
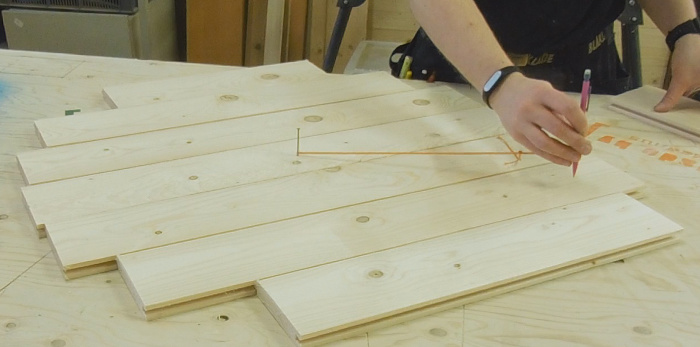
The dimensions are not that critical, I just wanted the clock to be big enough and have the right proportions.
I marked out the center with a nail and then used a loop of a string to determine the length of each board. I just made sure that the pen was in the center of the width of the board and made a mark. Because the backboard should be symmetrical I could cut two boards from one measurement.
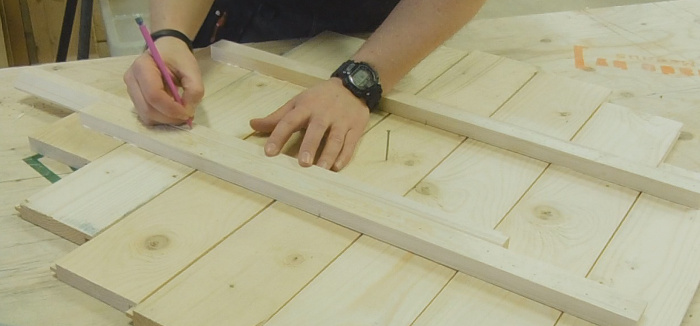
To attach the boards I used strips of the same material on the back that also make the backboard hang out a bit from the wall almost as it floats.
I took a piece of a leftover board and ripped it into two strips, one of them twice the width than the other. I then ripped the wider piece once more but this time with a 45º bevel. One of the beveled pieces were attached to the backboard with the "pointy" edge down and out. The corresponding piece is then used for the wall mount and is then oriented in the opposite direction. This will create a self locking hanging system, which is commonly known as "french cleat". The other piece, the one without a bevel, were attached closer to the bottom of the backboard. This lower strip will act as a spacer in order to make the clock hang vertical on the wall.
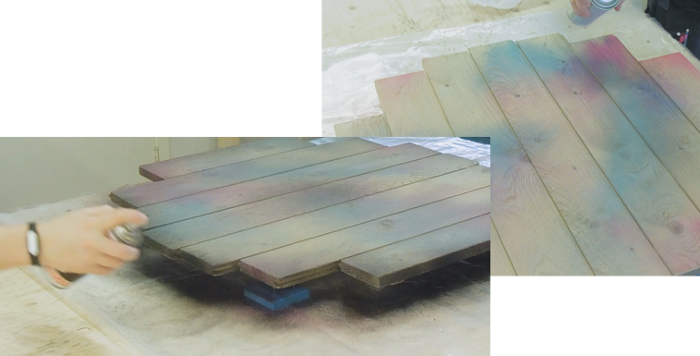
As mentioned above I used a mixture of steel wool an vinegar to darken the wood and create the base tone for the coloring. When this had dried I spray painted different areas with blue, pink and silver to create a multicolor appearance that would go together with the colors in the room. After that I chose to darken the edges with some black spray paint and then went over the hole piece with some white. I sprayed a small area and then wiped it out/off quickly to get a lighter look to it.
When it was dry I applied two coats of spray lacker with a light sanding in between. This will protect it and also make it easier to dust.

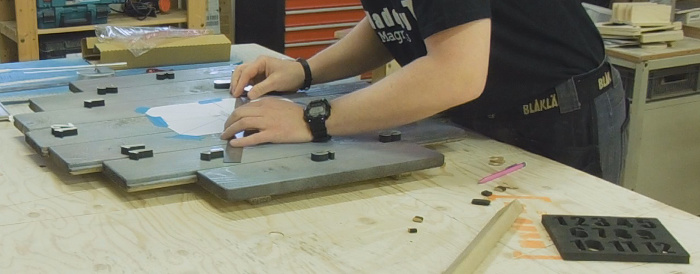
The clock I had for this project came with a template and all I had to do was to attach it with the centers lined up. Then it was just to follow each line for each number and measure from the center and out. All the numbers had self adhesive tape on the back so this part went on really quick.
The only remaining thing was to attach the beveled strip to the wall, hang the backboard and insert a battery. And of course to set the time!
