Finishing stands
The last part of a project often is to finish it with some kind of protective coat or if it's just for looks. Either way you need to be able to do this in a good way to ensure the best possible quality on the end result. Moreover, it's often much easier to perform the task if the piece you are about to finish is positioned in a desireable way.
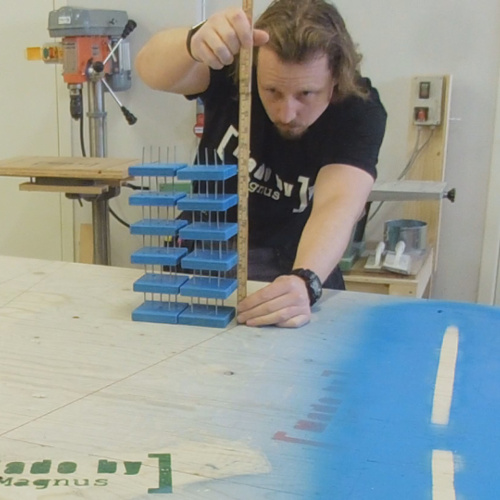
Finishing stands can be made from almost anything and to use some left over scraps is a perfect starting point. I used some scrap MDF for the base with a few pre-drilled holes, in which I inserted some nails. The tips of the nails serve as support for the piece I want to finish. This is important that you have something thin to support the finished piece to minimize the risk of any marks on the end product.
How I made it:
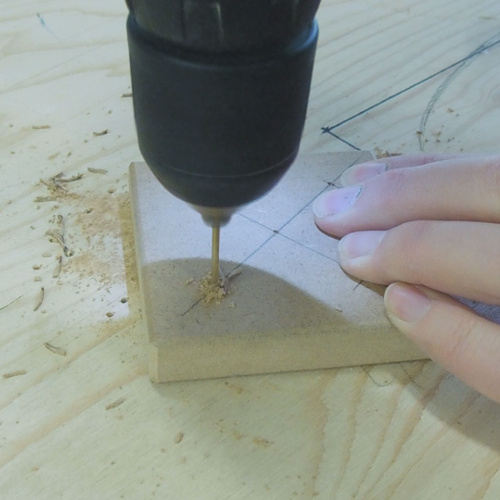
The leftover MDF that I used was 16 mm (~5/8") thick and I cut them to squares of 80 x 80 mm (~3"). The size of them isn't critical, I just wanted them slightly wider than they are tall for stability reasons. After that I drilled five holes to prevent the MDF from cracking when I inserted the nails. The holes are undersized so it's a tight fit for the nails and no glue was required. For good measures I also made a small recess for the heads of the 50 mm (~2") nails that I was going to use as the part that supports the workpiece.
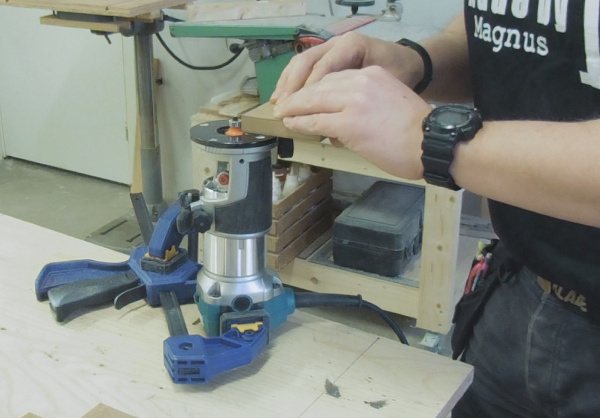
To make them a bit nicer to the touch and also to give them a little more finished look, I rounded all the edges with a 4 mm (~5/32") radius roundover bit. For this I used my small trim router upside down. I temporarily attached it to the worksurface with some quick clamps to get a small makeshift routertable.
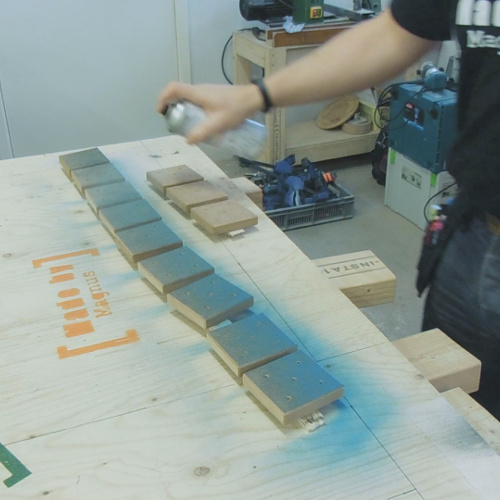
After all edges were rounded I gave the baseplates a coat of blue color. The reason for this is to make them more visible when they are in use in upcomming projects. Another positive aspect of this is that this also add to the finished look and it never hurts to make things nicer looking!
For this operation it had helped if I had some finishing stands...
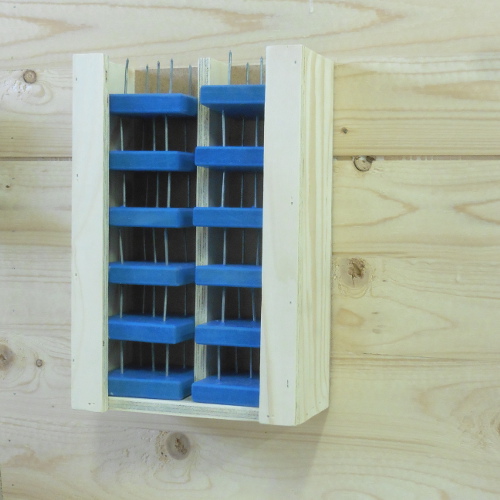
When the base plates were dry and all the nails were inserted I realized that I also needed some kind of storage for theese.
I started by stacking them in two piles to determine the height, width and depth that I needed. To make it convenient to use and return the finishing stands I went with a wall mounted solution with an open top. This way I could just slide them up and get them out easily and they were still going to be kept in place while not used.
The material for this was also some scraps; for the sides and the front I found some 12 mm (1/2") plywood and just a piece of 3 mm (1/8") hardboard (masonite) as the back piece.
